Tuesday, March 26, 2013

documenting firsts

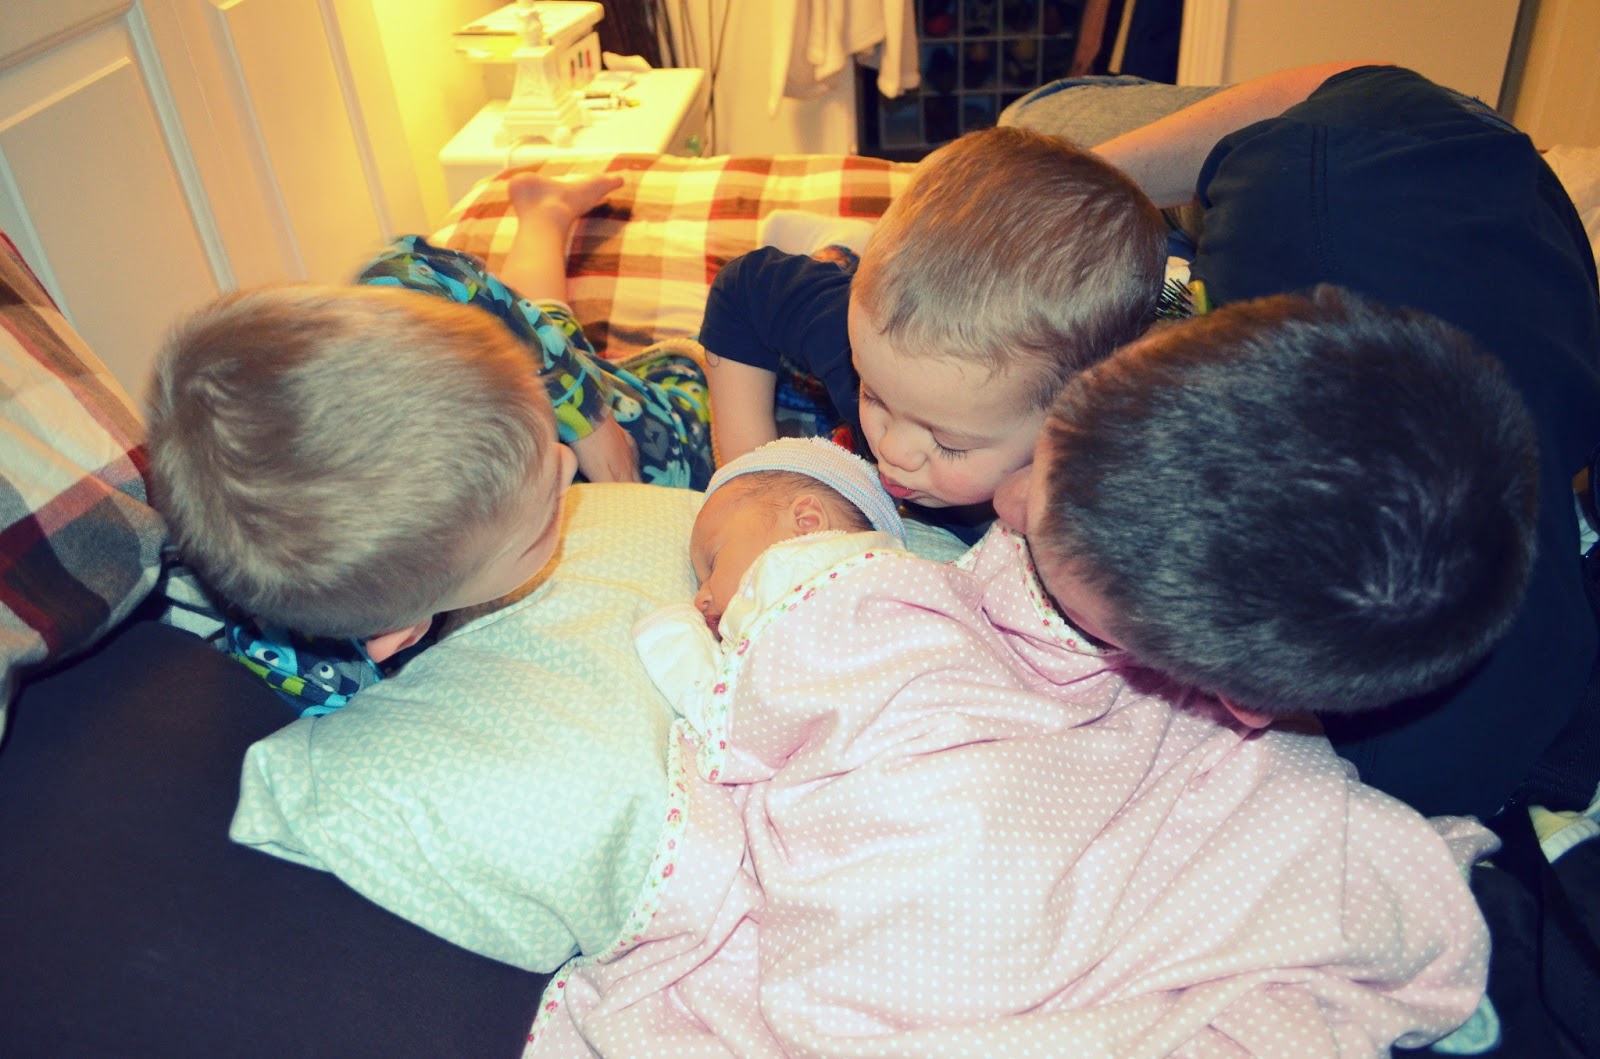
Today Capri had her first blowout which ended up turning into a photo shoot. I'm supposed to be resting but I couldn't help documenting such a precious little naked baby girl in a soft ruffled white blanket with the sun shining in. She only had to endure one wardrobe change - a headband. I went easy on her :) She is just a precious little thing to us. I am sure this is just one of many photo shoots...and one of many blowouts! We love you sweet Capri! 


Pin It

Sunday, March 24, 2013

Capri Isla Officer

3.21.13 - 8:45am - 7 lbs - 19"

It's safe to say that we are all absolutely in love with this little bundle! She's kind of a big deal around here...


Pin It

Friday, March 15, 2013

The last of the bump!

FYI - Just wrote a blog post and somehow deleted it so here is the quick version of what I had wrote:

1. I am just over 38 weeks pregnant.
2. I am SO ready to be done being pregnant. I've been struggling with some bad pinched nerves in my lower back and carpel tunnel in my hands. Also, I won't mind having my normal wardrobe back. :)
3. With that said I want to make sure I proclaim my thankfulness for pregnancy. I am grateful God has given us three wonderful children (even though I hardly know the third). I am soaking in all of these last kicks, swirls and hiccups in my belly....as this may be our last.
4. We will meet little miss in 6 days or less.
5. The boys can't wait to meet her (Sterling tells her all sorts of things and even sings a song or two to her).
6. We have installed her car seat and have hospital bags packed 90% of the way.
7. I'm not sure I will be able to sleep the night before my c-section but am hoping I somehow can. 
8. I hope to get pictures of the nursery up this week but may just wait till she is in it :)
9. I had a baby shower this last week and was extremely blessed by so many wonderful woman. Thank you Mary-Hayden, Alissa, Kristy and many more for outdoing yourselves in blessing me and baby girl! I seriously have the sweetest collection of headbands and bows and little girl books! Can't wait to show you all!
10. I had my last prenatal apt last week where they did a growth ultrasound just to make sure she was big enough and she weighed in at 7lbs 2oz. We will see how accurate that is.
10. Our little lady has a name...we think! We are waiting to see her and then will make our final decision out of 4 names ...though we have one that is a favorite.

Here is the last of the baby bump pictures (left - Sterling talking to her and saying "you are so wonderful baby sister" and on the right - a very tired me after we went out to dinner). I don't know why everyone has been telling me I look so small, these pictures prove y'all wrong! I've got a torpedo!


Prayers on Thursday are very appreciated - I am always a little anxious and fearful to go through a c-section again. Thank you!


Pin It

Thursday, January 31, 2013

A paper flower bouquet for your valentine

My MOPS group had a craft week a few Monday's ago and we were shown how to make these sweet flowers. I thought I would share the cuteness with you all. They are a little time consuming but super cute when you have a whole bouquet together. I made a dozen and a half for our little girls room and put them in a white IKEA vase. I love a flower that will last longer than a week. I am the worst green thumb known to man. I can't keep anything alive whether inside or out that needs any kind of maintenance. I either over water or under water so these flowers are right up my alley :) Besides cute decor, they are the perfect little valentine for kids to handout to their classmates. Just add a little tag on the stem with a sweet note.
MATERIALS: 
Any size square paper (double sided with print preferably unless you want white -I used both). I ranged in sizes from 5"x5" to a 12"x12" depending on the size of flower you are going for (large yellow flower was a 12"x12" paper)
Paper for a leaf (any color you would like...creativity is all yours!)
Green floral wire (comes in a pack of 18 I believe at Michael's for under $2). Cut them to desirable length. 
Hot glue gun

STEPS:
1. Start to round your paper
2. Round each edge (somewhat like a circle but perfection is NOT needed)
3. Start cutting into a swirl
4. Cut the swirl all the way to the center

1. Whichever color you want on the outside of the flower have faced out (see below - color is out so the color will be the outside of the flower with white being on the inside). Start to roll as tight as possible following the swirl.
2. Roll all the way to the middle
3. Let it all loose and it will shape into a flower
4. Take the bottom of the flower (very inside of swirl) and add hot glue and press to the bottom of the flower. It will glue all the layers together.
1. Bend floral wire like a 7 or an L.
2. Put a dot of glue on the bottom of flower and press wire till dry
3. Add on leaf over wire
4. Let dry upside down for a minute or two
 To make a leaf:
1. Cut a shape of a leaf
2. Add dimension by folding the bottom together
3. Add glue to folds to keep leaf dimensional
4. Add to flower
...and voila! A whole bouquet of unique flowers that are quite sturdy! As long as my boys don't get their hands on these, they should be lasting us quite awhile!


Happy Crafting, friends!


Pin It