
CABINET DAY! From the time they were built to the time they were delivered was about 4 weeks. I anticipated the delivery like a kid waiting to open gifts on Christmas morning. We actually went on a mini getaway weekend to Anderson Island with some dear friends just hours after these were delivered. We were able to catch our breath over the weekend and came home refreshed to complete this task. Our cabinet decision was pretty simple. We went with a white, shaker style, soft close cabinet. We chose a place in Tacoma called Founders Choice to build them. We did the math and getting basic white cabinets from Lowes or wood cabinets and painting them white was most likely going to cost us a whole lot of time and headache. Plus they wouldn't fit the space to our exact measurements. Choosing custom cabinets ended up being such a relief to us. We sat down with a designer and talked out all sorts of options and they came out to the house to measure and re-measure the space to get it just right. A money saving tip during this step of your remodel is to do self installation. We were confident in Justin's math and leveling skills that we went for it ourselves. It was at least a few hundred dollars if not more to have someone else install so it's definitely worth looking into as a DIY option if you are into pinching those pennies like myself. You can also save on delivery if you have the capability to transport that large of a load. Overall, we were very pleased with our cabinet buying experience and couldn't be happier with the quality.
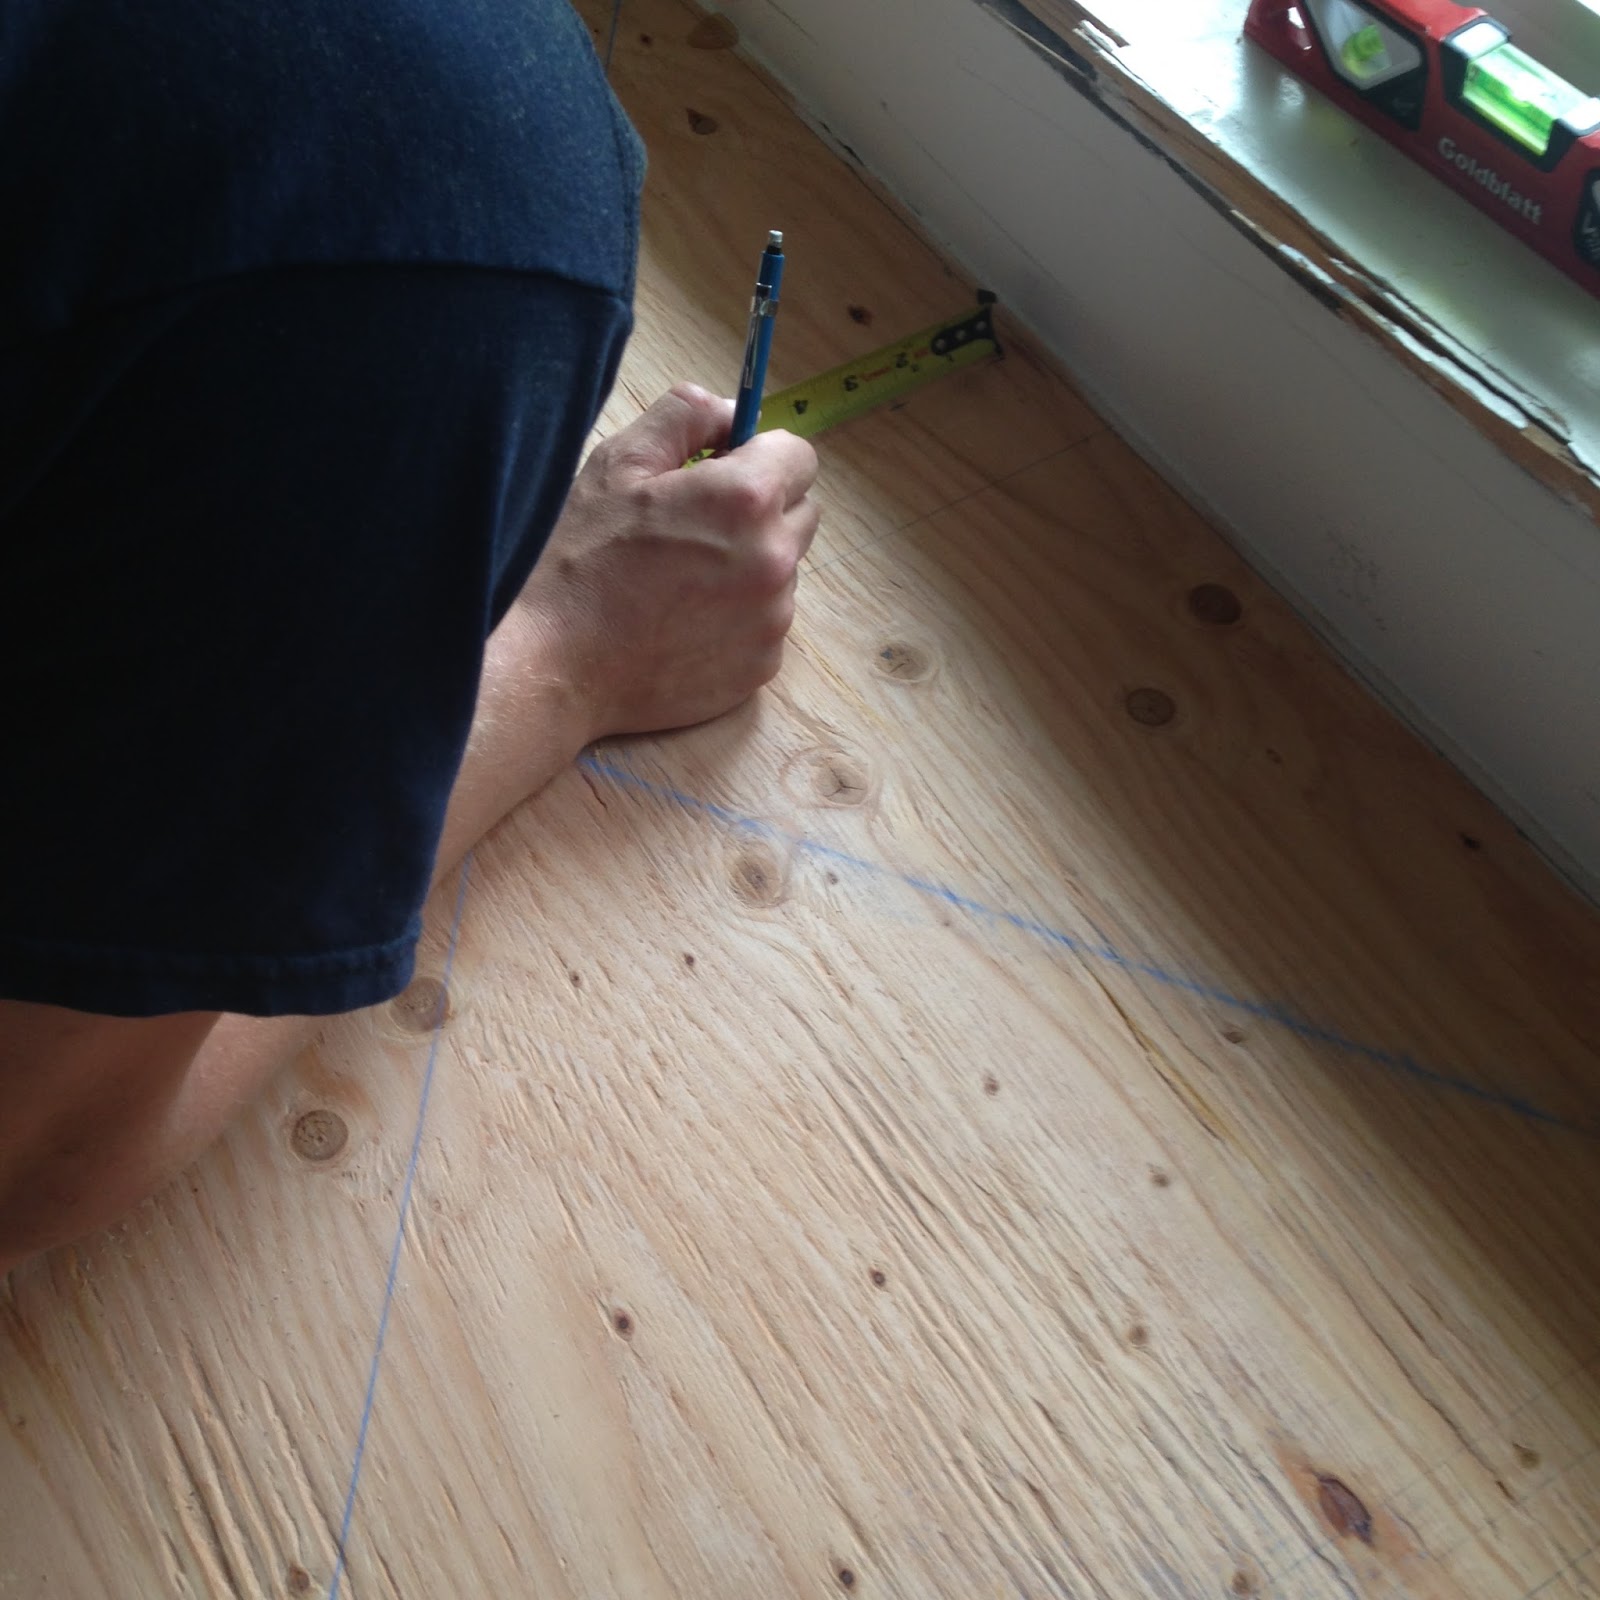
The order of operations for a kitchen remodel felt tricky. Our floor guy wanted the cabinets installed before the floors were sanded and stained to prevent possible scratching and dings from cabinet installation. They reassured us that the cabinets would be fully sealed off during the sanding and staining process. You also need to have hardwoods sit in your home for a few days so they can acclimate to your home temp before they are installed. It's a whole lot of "this before that and that before this." If you have a kitchen remodel on the horizon, get on the ordering and decision making process before you demo to eliminate the waiting game.


Thank you to our friend Thomas who came over to mix concrete while we worked as quick as we could to smooth the surface. It went way faster than we expected. We almost couldn't keep up with the amount of trowel work we had to do and with how quick the concrete was setting. Our big mistake was buying quick-crete thinking it would take forever for it to set up. Whoops! What's great about concrete is you can fix any blemish by either sanding down or adding more mix. The counters were by far the most stressful part of the re-model but we love how they turned out.


 Canned lights installed and counters are looking glossy!

Laminate and yellow two toned hardwoods forever gone. Whoop whoop!


Love,
The Officer's
Pin It
No comments:
Post a Comment